Saturday, August 31, 2013

Cobblestone, Monterey Taupe and Amazing Gray

September 1st

Our construction site has been pretty quiet for the past couple of weeks.  But while there hasn't been much construction happening there has been a lot of planning and decision-making.  You would think I would not be surprised by all the decisions that have to be made in the course of a construction project, but I feel like every time I turn around there are more selections and/or decisions to be made.  There's a lot of pressure to decide on something you will literally live with!

With the Tyzek wrap up, the Builder was ready to purchase the exterior wall materials.  We needed to make a final decision about the house siding material, choosing between vinyl siding, insulated vinyl siding, or cement board siding.  Of couse there is a price tag associated with each of these choices.  (The costs are never far from our minds.)  Integral with the siding selection was the stone selection.  The colors need to compliment each other.  While we were pondering the wall finish materials the Builder asked for a paint color for the foundation walls.  He wanted to paint the foundation walls before back-filling the dirt around the house.  I said "I can't pick the foundation paint color until we pick the siding colors!"  It's all relatived.  So all of a sudden we had lots of decisions to make, and I felt like I was holding up progress.

Partial Elevation of the Front of the House
There are two siding materials to select - the horizontal siding to go on the main walls of the house at the sides and rear, and the "shake" siding that will go on those areas of the house that project from the main planes of the house.  We decided that we want the shake siding to be a slightly darker color than the typical siding boards.  To complicate matters more, the color selections for materials shown within manufacturers' brochures is NEVER accurate.  So the Builder had to find real samples for color selection. 
Finally, we decided to use a fiber cement board siding product called "HardiPlank".  The horizontal siding will be "Cobblestone" color, and the shakes will be "Monterey Taupe".


Once the siding types and colors were selected I picked the paint color for the basement walls - Sherwin Williams "Amazing Gray".

Basement wall, painted "Amazing Gray"


Thursday, August 22, 2013

A Room With a View

Somehow we lucked out when we bought our house at 10208 Carol Street.  Not only was the house lot size an acre, but the property came with an "out lot".  When our neighborhood was developed our house was the first one to be built.  Most likely all the planned house lots were laid out, and platted, before our house was built.  The house lots are all about an acre in size, and they curve in a rough "U" shape.  The space kind of left over, in the middle, was designated the Out Lot, and tagged onto the first house property.  I believe it is called an Out Lot because it cannot be built on.  Our neighbors (original owners of their home) have told us that the developer could not get that lot to "perk", meaning they could not qualify the land to support a septic field.  (Great Falls does not have public water or sewer services.)

A Forest thru the Trees

Having the Out Lot as part of our property gives us a lot of privacy (no pun intended).  In the summer you cannot see any of the houses that surround us.  And of course, it gives us that much more land.  When we first moved in the front yard was a dense grove of trees, and the back of the house was a forest - no yard at all.  Over the years Steve poured a lot of sweat into selectively cutting down trees, digging up roots, renting and loading dumpsters to haul all the wood away, bringing in topsoil and grading, and finally creating grassed yards for us in the front, back and side of the house.

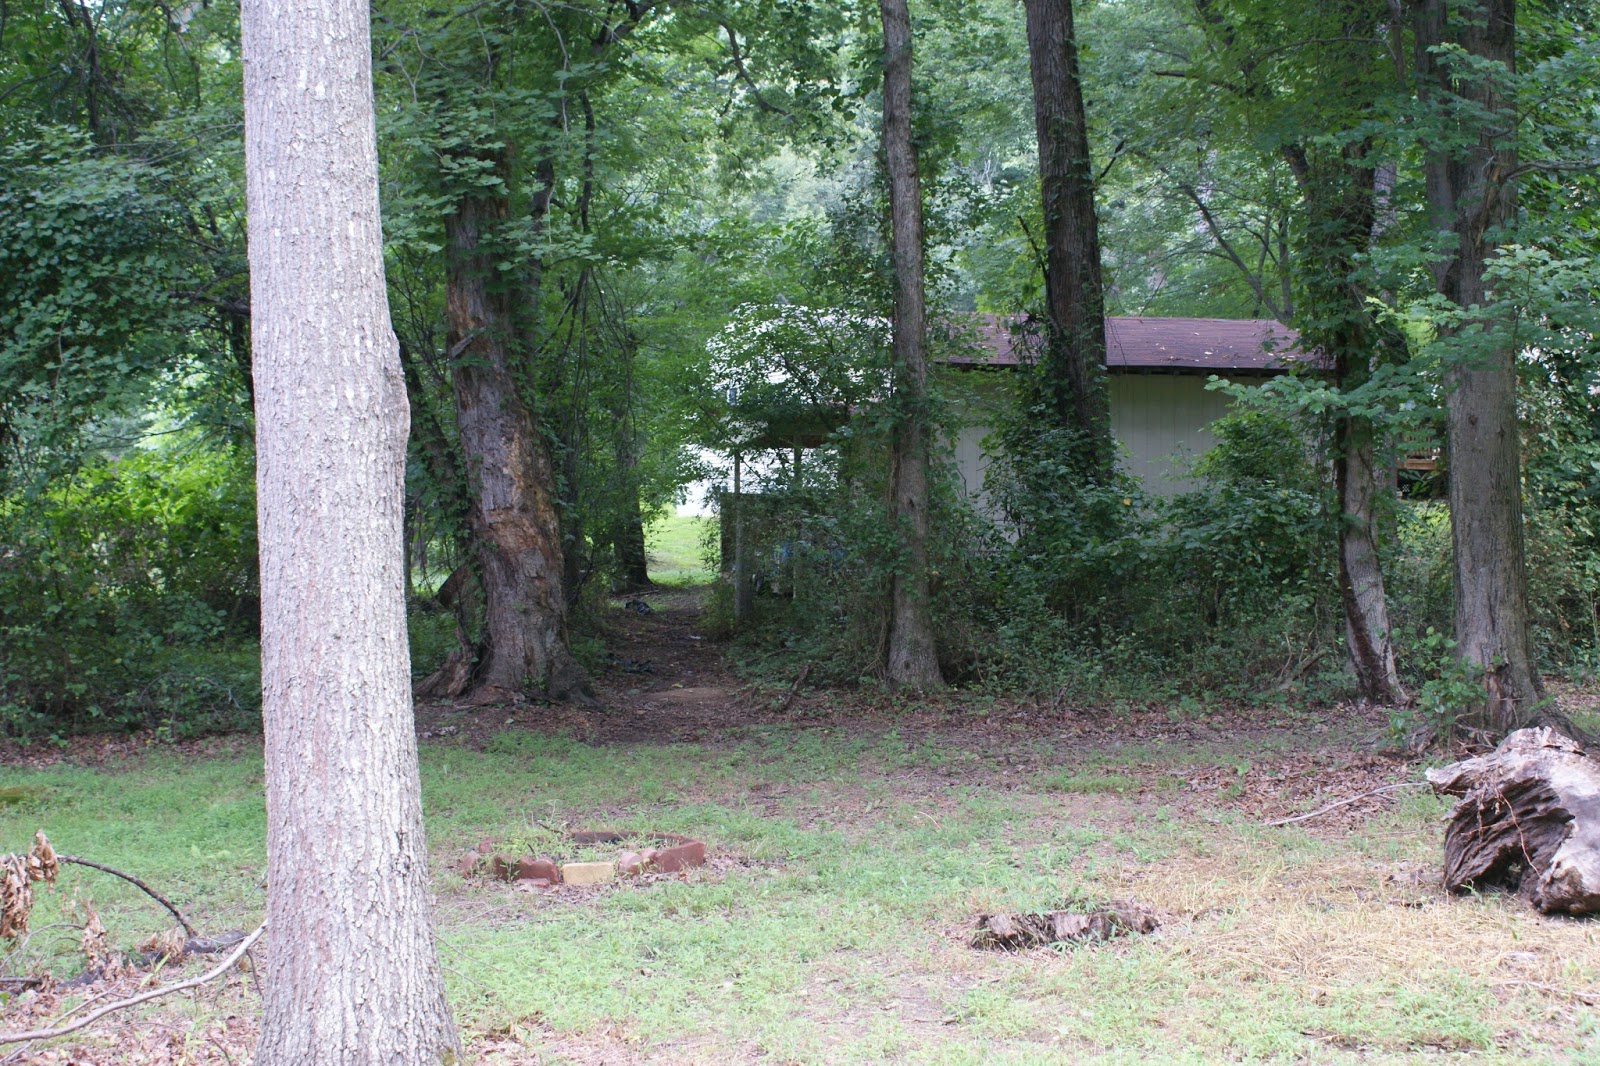
Fallen trees, over the tennis court
Of course, once we had selectively removed trees and created lawns storms started to wreck havoc, literally.  It started the year of Hurricane Isabella.  Our trees were being uprooted.  The year of Hurricane Isabella we lost about six trees.  Since then every year we seem to lose anywhere from one to three trees.  It's very sad to see, but the trees have had a good life and for many of them their time had come. 

But the lot still remains well-forested, particularly within the Out Lot portion.  Looking out to our back yard has always been enjoyable.  We knew when we started designing the house the focus of the primary family spaces - Family Room, Eating Space and Kitchen - would be the back yard.  So a lot of our attention in the design centered on the Family Room.  There are lots of windows in the Family Room - 11 to be exact!

Drawing of the Family Room & Eating Area, looking toward the backyard
Spatial proportion is important to understand in Architecture.  The sense that a space "feels right" comes from the space having the proper sense of scale and balance.  I fretted over the size of our Family room.  I wanted it to be just right; not too big and with a sense of intimacy.  The jury will remain out, as to how successful we have been in our design attempt, until the space is completely finished.  But so far I am having very good feelings about this room.

The room starts to take shape (looking towards stairs)


The "view", without the windows
 It was neat to have such a big expanse of open view, before the windows went in.

Looking down to the Family Room
Footnote:  As the drawing through the Family Room shows above, we did not plan to have an octagonal window in the upper part of the wall.  One day we took Alex over to the house.  We walked up to the balcony and looked down on the family room.  Alex asked if there were going to be any windows in the upper portion of the wall?  I said "no".  He looked at me and said, "you won't see the outside from up here then."  The next day the builder asked "Don't you want windows in the upper portion of the wall?"  Everyone's an Architect!

So I guessed we caved.  Steve and I played around with drawing in all sorts of window sizes and shapes.  In the end the only thing I was comfortable with was the octagonal window.  It is exactly at eye-level from the balcony.

It's that issue of balance.  I am concerned about how the wall will look from the outside as much as from the inside.

Looking toward the Family Room from the backyard


Wednesday, August 14, 2013

The White House

2nd Week of August

One of the most effective ways to provide additional weather protection and increase the energy efficiency of a home is to create a continuous air and moisture barrier around the entire house; in other words, "wrap it".  One material has been around for so long as to become the industry standard.  Much like Kleenex, "Tyvek" has become so frequently used that it has become part of a builder's everyday vocabulary when talking about weather-protective enclosures.

our "white house"

With our house wrapped in "tyvek" we now have a "white house" .  .  .  .  for a little while, until the stone veneer and vinyl siding materials are installed, and cover it up.  I hope that happens very soon.

Wednesday, August 7, 2013

Halfway Home

We have hit another milestone.  We signed our contract with the builder on May 2nd, with the agreement that he would build our house within 6 months.  On August 2nd we hit the halfway point.

Halfway done
The builder is probably 35 - 40% complete with the house.  The inside is just framing at the moment.  In the next couple of weeks the dirt will be backfilled around the house, and the mechanical and plumbing contractors will start doing their layouts of ductwork and piping.  And then of course there is the stonework!  There is still a lot to be done, but progress is steady.  The next three months will be just as interesting as the last three months, I'm sure.

Tuesday, August 6, 2013

A Roof Over our Heads

Our Contractor has had a couple of major milestones in mind since our project started, and they were both very much weather-related.  First he was focused on "getting out of the ground", i.e. getting all the concrete poured, thus getting us out of a potential mud hole.  Second he focused on "getting us under roof", i.e. framed and weather-protected.  Until the roof is on the house several of the trades cannot start their work. 

It took about three weeks to get all the structural wood framing in place, along with the exterior wall sheathing.  As soon as the plywood roof sheathing had been installed the roofing contractor arrived and laid a layer of underlayment roof felt. This only took a day.

Layer of roof felt is installed first
Of course, before the roof could be installed we had to pick a shingle color!  We had already specified the type of shingle we wanted, and the contractor was planning to provide "Certainteed" Landmark series architectural style shingles.  We looked at half-a-dozen shingle colors, and drove around the neighborhood looking at roofs, to get comfortable with the grey/brown color we were leaning toward.  We know what color we want for the stone at the front of the house, and we have the color range for the siding narrowed down but not selected.  We want the shingle color to compliment both the stone and siding, but without having real samples of those materials it was hard for us to select the roof shingle color.  We decided on "Driftwood", but couldn't help being unsure until we actually saw it in place. 
Landmark series, "Driftwood" shingles

Roof shingles arrive
The carpenter was working just a day ahead of the roofers, to get all the roof overhangs, edge details and fascia boards in place.  From start-to-finish the roofing took about five days to install.

Half the shingles are in place, on the main roof of the house

Somehow it didn't register that at the same time the roofing was going up the windows would also be installed.  One day we walked over to see the roof progress and more than half the windows had been installed!  One of the features of our house that makes it a little different from a "typical" house is the preponderance of windows.

Roof shingles AND windows!
So now we are almost entirely "protected" from the weather.  We still need the doors, which are due to arrive in about 2 weeks.
 
More windows than wall area?
The irony to me is that Steve and I started down our l-o-n-g road to a new house with the simple desire to replace the roof and windows in our house.  Well, it took awhile, but we finally have a new roof and new windows.

Sunday, July 28, 2013

The Beaten Path

There were a lot of things that had to happen, to make this "new house" a reality.  One of the more logistically challenging issues was to figure out where to put ourselves and all of our belongings.  We had to move!  And we needed a temporary home.  One November day a "For Rent" sign went up at the corner of Carol Street and Ellsworth Avenue.
10208 Carol Street & 725 Ellsworth Avenue
But we were not ready to move.  Our building permit process still needed a few months' review-and-approval time.  So we drove by the "for rent" sign every day, as we left and returned home, hoping it would remain available for a little while longer.

Somehow luck remained on our side, and when we were ready to move the house-next-door was still available.  We signed an 8-month lease and moved ourselves and belongings the last weekend of March.


725 Ellsworth Avenue
The size of the house is deceiving.  There is a large addition at the rear of the home, and a fully finished basement.  We were able to stuff all of our belongings into the house.  The basement is jam-packed in most rooms, but we are more comfortable than I ever imagined we would be.

Side note:  You will notice a large house next to the one we are renting.  Our neighborhood has been going through the phenomenon of redevelopment.  The house we are renting is from the "older generation" of single-story homes that were the first homes to be built on these streets.  Developers seem to buy one or two lots a year with these smaller homes, tear them down and re-build a much bigger home.  Just like what we are now doing on our own lot.

Nicholas, Lauren and Alex were a huge help to us.  We definitely could not have made the move without their help.  And given the adjacency of the properties, we found ourselves hand-carrying many items.  After just one day of back-and-forth movements the beginnings of a serious path could be noticed.  By the end of the weekend you would have thought the path had been there for some time.  It is fully beaten down.


the beaten path


Saturday, July 27, 2013

The Necessity of a Good Foundation

1st Week of June

"The beautiful rests on the foundations of the necessary."  Ralph Waldo Emerson

The basic design concept for any house is to provide shelter.  That is the necessity.  If a house is to be more than just shelter then some thought must be given to the shape, size, proportion, materials .  .  . from which something beautiful can take shape.

But it all must start with a strong foundation.  Just as with a good design, good construction starts with a lot of thought and planning.  Every dimension - both vertical and horizontal - will be critical as construction continues.

The forms arrive (view from NW corner of yard)
House foundation walls are typically constructed of either concrete block units or concrete.  The use of certain building materials is often dictated by regional building practices.  In our area concrete seems to be the preferred foundation wall material, and it was the material we wanted; just seems like it would be stronger. 

Arranging the forms around the concrete footings
Once the concrete footings were poured and allowed to set about a day it was time to erect the wall forms.  Pre-fabricated, re-usable metal forms are used to set up the walls.  The crews know what they are doing, and erection of the panels seems to go quickly.


Of course, the stength of concrete walls is actually in the steel reinforcing bars, typically laid in a grid pattern (vertical and horizontal), and tied together wiht metal straps.  As with all the details for the house, Steve and I act with a "trust but verify" strategy.  We check the rebar spacing as it is being laid, and don't hesitate to ask questions.

Formwork, seen from the front corner of the Garage
Things may look a bit rough at this stage, but there are a lot of level planes and dimensions being "cast in stone" (or concrete in this case) that will become critical for every other material installation to follow.

Wall Check!  Is it level?
I must admit to taking a tape measure over to the site, and checking all of the foundation wall measurements against the plans.  Given how rough everything looks, I couldn't help but be surprised and impressed that every dimension was within 1/4 - 1/2-inch of true, and most of them were exact.

Pouring the Basement Slab
By now the crews are probably used to our presence.  We show up a lot.  It certainly helps that we happen to be renting RIGHT NEXT DOOR.  And Nicholas had a bit of time "between jobs"; he was our eyes and ears during the months of May and June.  Thank you, Nicholas! 

Foundation, Basement Walls and Slab - done!
In one week's time we have gone from a large hole in the ground to having a basement.  It may look rough, but it's a great start.  We can finally start to see and feel the overall house size.  While it is bigger than the old house, it is actually small by "Great Falls" standards.  For us, I think it will be just right.